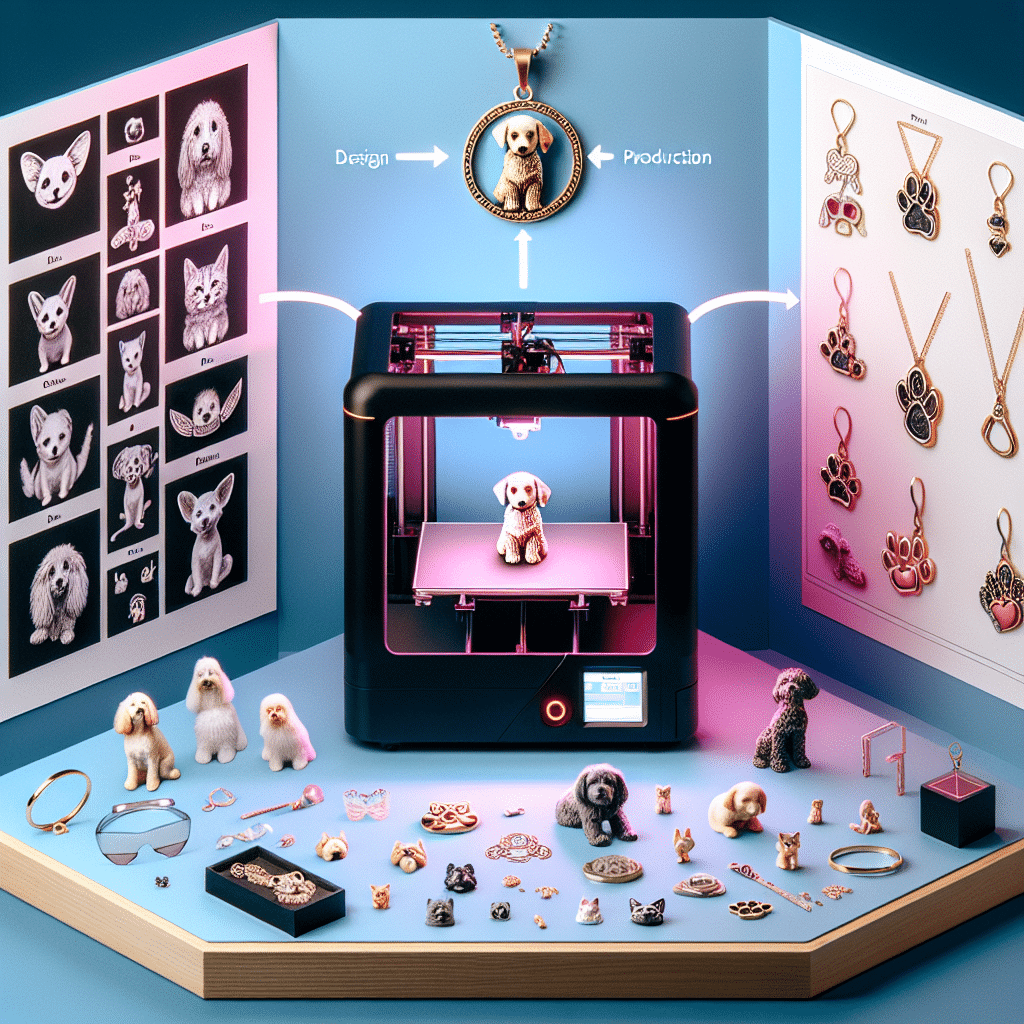
Step-by-Step Guide to Creating Unique 3D-Printed Pet Jewelry
Creating unique 3D-printed pet jewelry allows pet owners to customize accessories with personal touches. This guide will walk you through the materials, tools, design process, and printing techniques involved in bringing your ideas to life.
Materials Needed
-
3D Printer: Choose a high-resolution printer, such as FDM or SLA, based on your desired finish. SLA printers offer finer details.
-
Filament or Resin: Use PLA or PETG filament for ease of use and durability. For SLA printers, opt for high-quality resin that is safe for pets.
-
Design Software: Install compatible software programs like Tinkercad, Fusion 360, or Blender for modeling. These tools have comprehensive libraries and tutorials for beginners.
-
Post-Processing Materials: Have sandpaper, paints, and seals handy for finishing touches. Non-toxic paints are preferable to ensure pet safety.
-
Jewelry Findings: Gather jump rings, clasps, and chains to complete the jewelry.
Step 1: Conceptualize Your Design
Begin brainstorming your pet jewelry concepts:
- Think about your pet’s personality: Is it playful, elegant, or adventurous?
- Incorporate elements like their name, favorite shapes, or themed motifs (e.g., paws, bones, or hearts).
Step 2: Create the 3D Model
-
Open Your Design Software: Start a new project in your preferred software. Familiarize yourself with the interface using available tutorials.
-
Choose Dimensions: Decide on the dimensions of your jewelry. Avoid sizes that may be uncomfortable or cumbersome for small pets.
-
Modeling Techniques:
- Use basic shapes to create the base of the jewelry. For example, a heart can be created with two spheres and a cylinder.
- Utilize text tools to incorporate your pet’s name. Tinkercad’s “Text” feature is user-friendly for beginners.
-
Refining the Design: Adjust sizes, curves, and textures to enhance aesthetics. Ensure edges are smooth for comfort. Regularly save your progress.
Step 3: Prepare for Printing
-
Export Your Model: Save your design as an STL file, which is widely compatible with 3D printers.
-
Slicing Software: Use slicing software (e.g., Cura, PrusaSlicer) to convert your STL file into G-code, which the printer will understand.
-
Adjust Print Settings:
- Set layer height for resolution; 0.1mm for high detail.
- Adjust print speed and infill percentage (20%-30% is typically sufficient).
- For jewelry, consider keeping supports minimal to reduce post-processing.
Step 4: Print Your Design
-
Prepare the Printer: Load the filament into the printer, ensuring it’s dry. Calibrate the printer if necessary.
-
Start the Print: Begin printing while monitoring for any issues such as bed adhesion or filament entanglement.
-
Post-Print Inspection: Once printed, allow the piece to cool before carefully removing it from the print bed. Inspect for any defects that may need addressing.
Step 5: Post-Processing
-
Sanding: Use fine-grit sandpaper to smooth out rough edges or imperfections. Work gradually to achieve a polished finish.
-
Painting: Apply a coat of non-toxic paint to introduce color. Consider using spray paint for an even finish. Allow it to dry completely.
-
Sealing: Use a non-toxic sealant to protect the paint and enhance durability. Ensure it is pet-safe and compatible with your material.
Step 6: Adding Findings
-
Drilling Holes: If necessary, drill holes for attaching findings. Take care not to crack the material. If your design already includes holes, skip this step.
-
Attach Jump Rings: Open jump rings with pliers and connect them to the jewelry piece and chain or clasp. Close them securely.
-
Attach Clasps: If making a necklace or bracelet, secure the clasp to complete your piece.
Step 7: Quality Check
-
Inspection: Run a final check to ensure everything is securely fastened and the jewelry is safe for wear.
-
Comfort Test: If possible, try the jewelry on your pet to ensure it’s comfortable. Modify as necessary for the best fit.
Step 8: Customization and Gifting
-
Personal Touches: Add charms or additional elements that resonate with your pet’s personality. Consider engraving if desired.
-
Presentation: Package the jewelry attractively if presenting it as a gift. Use eco-friendly materials for an additional touch of care.
Additional Tips
- Design Inspiration: Browse online platforms such as Pinterest or Etsy for design ideas.
- Learning Resources: Utilize forums like Reddit or YouTube channels focused on 3D printing for problem-solving and tips.
- Join Communities: Engage with fellow crafters on social media or local maker spaces for support and inspiration.
Creating unique 3D-printed pet jewelry is an enjoyable process that allows you to express your love for your furry friends. With the right tools and techniques, you can design and produce stunning pieces that celebrate their individuality.