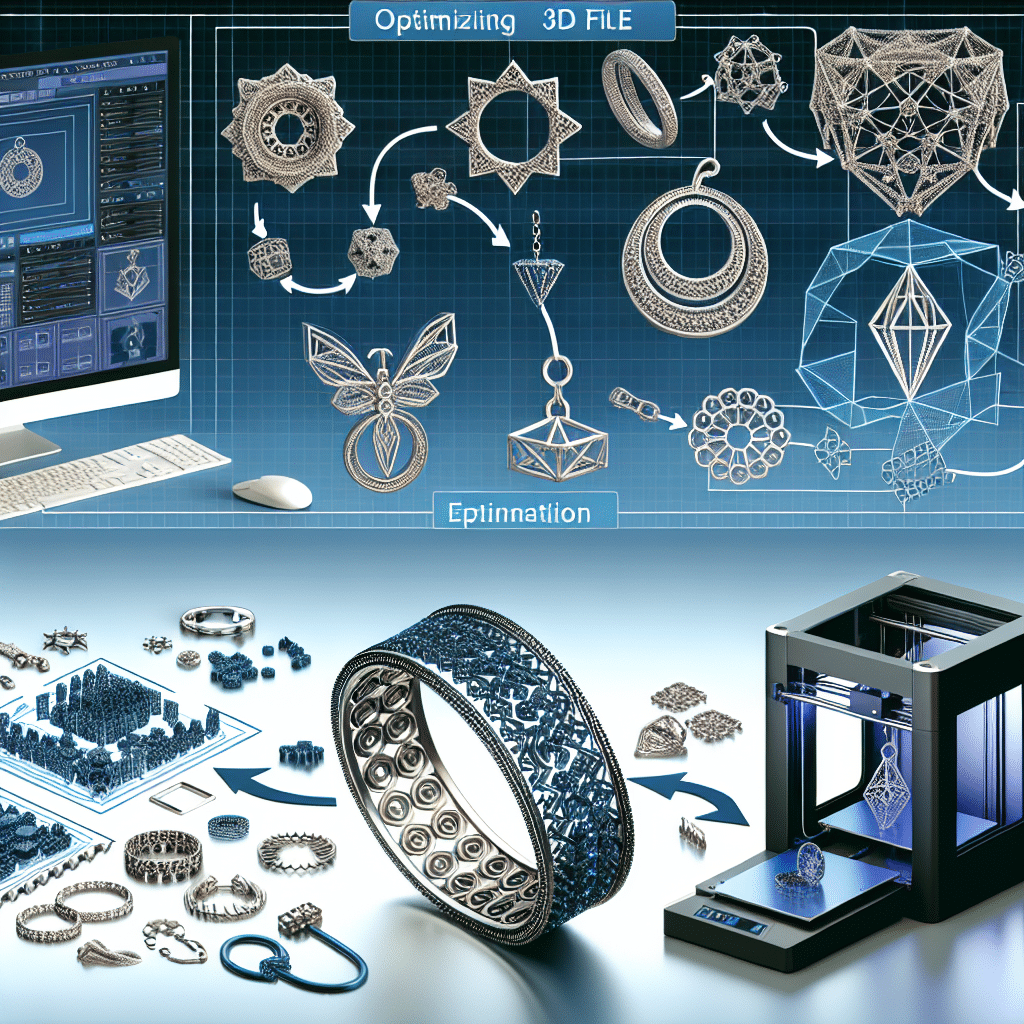
Understanding 3D File Formats for Jewelry Printing
When optimizing 3D files for jewelry printing, the choice of file format is crucial. Common formats include STL, OBJ, and 3MF. STL (Stereolithography) is the most widely used format due to its compatibility with various 3D printers. However, STL lacks color and material information. OBJ files support multiple colors and textures, making them useful for more intricate designs. Meanwhile, 3MF (3D Manufacturing Format) supports full color and metadata, making it an ideal choice for advanced jewelry applications.
File Resolution
File resolution directly affects the quality of the printed jewelry piece. For detailed designs, a high resolution of around 0.01 mm is recommended. This ensures that intricate features are captured accurately and prevents the loss of fine details during the printing process. Lower resolutions might yield faster prints but can result in a less detailed final product. Always consider the machine’s capability as well; high-resolution details may not be effectively printed on lower-end printers.
Polycount Management
Managing the polycount— the number of polygons in the 3D model— is essential for optimizing printing efficiency. While higher polygon counts improve surface detail, they can also lead to longer processing times and increased memory usage. Aim for a balance that maintains detail without overwhelming the printer. Generally, a polycount of 100,000 to 300,000 can offer sufficient detail for most jewelry items, depending on the size and complexity of the design.
Utilizing CAD Software
Utilizing advanced CAD software is vital for creating high-quality 3D models. Software like Rhino, Tinkercad, and Blender allow designers to readily manipulate forms and ensure that the model adheres to best practices for 3D printing. These applications often include features for checking the integrity of the model, identifying errors like non-manifold edges, and optimizing shell thickness, which enhances printability.
Setting Appropriate Wall Thickness
Wall thickness is a critical element in jewelry design, impacting both the durability and aesthetics of the printed piece. For fine jewelry, a minimum wall thickness of 0.5 mm is typically acceptable. For larger or more structural pieces, increasing wall thickness to 1 mm or more can provide additional strength. However, excessive thickness can lead to weightiness and discomfort, making it imperative to balance aesthetics and functionality.
Simplifying Complex Designs
While intricate designs may capture attention, they can complicate the printing process. Simplifying designs without losing their essence is essential for a successful print. Reduce unnecessary details or combine elements to streamline the model. Use Boolean operations in CAD software to merge separate pieces and eliminate redundant geometry, which not only enhances print efficiency but also simplifies post-processing efforts.
Orientation and Supports
Proper orientation during printing can dramatically affect the final outcome. Jewelry pieces should be oriented to minimize the need for supports and reduce surface contact with the build plate. For instance, rotating the model to a 45-degree angle can help distribute weight and improve layer adhesion. Ensuring that key features, such as prongs and settings, are printed upright can enhance their structural integrity. Additionally, always assess how supports may impact the finished surface; adding supports in less visible areas can help achieve a cleaner outcome.
Preparing for Post-Processing
Post-processing can significantly enhance the finish of printed jewelry. Depending on the material used, methods such as sanding, polishing, and plating may be necessary. When modeling, account for these processes by designing elements that can be easily accessed for finishing. For instance, leaving a bit of extra material around edges can provide room for sanding without risking damage to the primary design.
Selecting the Right Material
The choice of material directly influences both functionality and appearance. Common materials for jewelry printing include resin, metal, and nylon. Each material has distinct properties: resin can capture fine details and produce a high-quality finish; metal provides strength and durability, while nylon offers flexibility. Researching and selecting the right material for your design is crucial, considering factors like durability, cost, and the intended final use of the jewelry.
Reducing File Size for Faster Processing
Large file sizes can slow down the processing and slicing of 3D files. Techniques such as decimation can help reduce file size without sacrificing necessary detail. Additionally, use software tools to clean up files by removing hidden geometry, using symmetry to replicate designs, and ensuring that each piece of the model is necessary for the final jewelry piece. Keeping your file size manageable enhances processing speed and efficiency, reducing time spent waiting for prints.
Checking for Errors
Before sending your model to the printer, perform a thorough check for errors. Use software tools to identify issues like intersecting geometries, flipped normals, and non-manifold edges. Most CAD software provides repair utilities that can automatically fix common issues. Additionally, running your model through validation software can help catch any potential problems before printing, saving you from wasted material and time.
Understanding Printer Limitations
Every 3D printer has limitations concerning resolution and materials. Understanding your printer’s specifications is vital. For instance, if your printer cannot handle fine details that your design features, it might be necessary to adjust your model accordingly. Research the printer’s capabilities, including maximum layer height, recommended materials, and optimal speeds, to ensure your designs are printable.
Efficient Use of Colors and Textures
For colorful designs, use texture maps and color gradients appropriately. Incorporating color details can enhance the overall aesthetic of the jewelry, making it visually appealing. Ensure the compatibility of color settings with your printer’s capabilities to avoid discrepancies. While incorporating textures, ensure they are not overly complex, which can hinder the printing process. Test small pieces to evaluate how color changes appear on the final product, adjusting your design accordingly.
Final Thoughts on Optimization for Jewelry Printing
The detailed processes involved in optimizing 3D files for jewelry printing significantly impact the quality and efficiency of the final product. From selecting the right file format and material to adjusting polycount, wall thickness, and design intricacies, every aspect plays a pivotal role in successful jewelry printing. By employing these best practices and continually refining your techniques, you can ensure that your jewelry designs not only look stunning but also print flawlessly, meeting both aesthetic and functional requirements in the vibrant world of 3D-printed jewelry.