Beginner’s Guide to Making 3D Pet Charms
Understanding the Basics of 3D Pet Charms
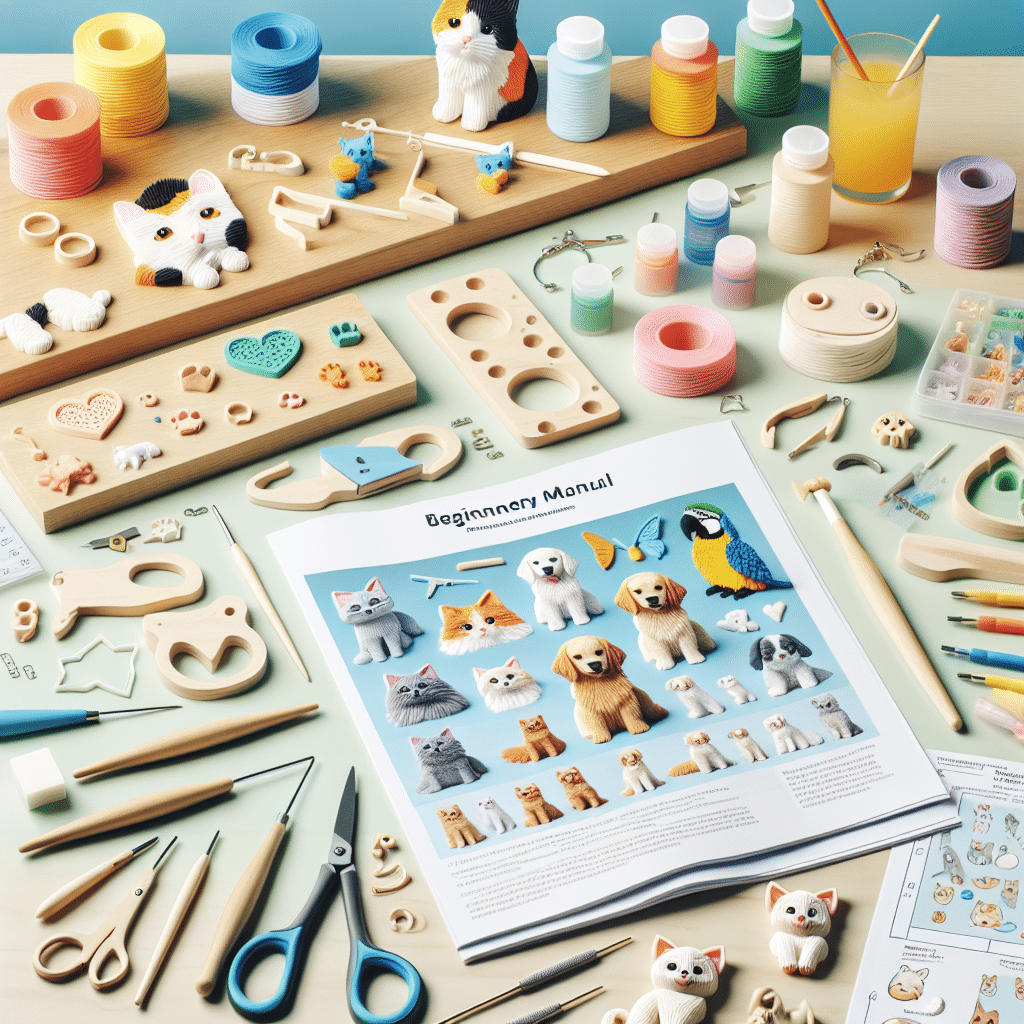
Creating 3D pet charms is an enjoyable craft that merges creativity and personalization. These tiny, intricate pieces not only showcase your love for your furry friends but also serve as delightful gifts. To get started, familiarize yourself with the fundamental concepts of 3D design and crafting techniques.
Essential Materials Needed
-
Clay: Polymer clay is a popular choice for beginners due to its moldability and durability. Air-dry clay can also be used but requires more patience.
-
Tools: A set of sculpting tools, including a needle tool, dotting tools, and scissors, will be essential in achieving the desired details in your charms.
-
Paint and Brushes: Acrylic paints work best for adding finishing touches. Ensure you have fine brushes to paint small details accurately.
-
Sealants: Clear resin or varnish can be used to protect your charms from damage and to enhance their visual appeal.
-
Jump Rings and Chains: If you want to turn your charms into keychains or jewelry, acquire jump rings and chains that suit your design.
-
Baking Supplies: If you’re using polymer clay, you’ll need an oven to bake your charms to harden them.
Choosing Your Inspiration
Start by selecting a pet to base your charm on. Look for photos of your pet or other animals that inspire you. Consider the features that make them unique: fur color, eye shape, or distinctive accessories. Create a mood board with images and colors that represent the essence of your pet.
Sketching Your Design
Once you have your inspiration, sketch your design. Start with a rough outline to establish proportions, then refine the details. Determine the pose you’d like your charm to reflect. Whether it’s a playful jump or a relaxed position, clear visualization will guide your sculpting process.
Sculpting Your Charm
-
Form the Base: Begin with the body of your pet. Roll a ball of clay into an oval shape for the body, then add smaller pieces for the head, legs, and tail. Use your fingers and sculpting tools to blend the joints smoothly.
-
Adding Details: Once you have the basic shape, add details like ears, eyes, and fur texture. Use a needle tool to create fine lines for fur and pressing small pieces of clay for features like eyes. Don’t forget to think about accessories like collars or hats.
-
Stabilizing Your Design: Ensure your charm is balanced and can stand up, if necessary. You can reinforce the structure by inserting a thin piece of wire through the body before fully assembling the charm.
Baking Your Charm
Once you’re satisfied with your creation, follow the baking instructions on your polymer clay packaging. Preheat your oven to the recommended temperature and bake your charm for the specified time. Monitor closely to avoid over-baking, which can lead to discoloration or burning.
Painting and Detailing
After your charm has cooled, it’s time for painting. Using acrylic paints, add color to your charm carefully. Start with the larger areas and progress to smaller details. Allow each layer of paint to dry before adding the next to avoid mixing colors unintentionally.
Applying Sealant
To finish and protect your charm, apply a sealant. Use a glossy or matte finish based on your preference. Ensure the charm is completely dry before applying the sealant. This step not only enhances the charm’s durability but also gives it a professional appearance.
Assembling Your Pendant
If you’re turning your charm into jewelry or a keychain, use jump rings to connect the charm to a chain or keyring. For this, you’ll need pliers to open and close the jump rings securely.
Tips for Crafting Success
-
Start Small: If you’re a beginner, start by making simple designs. As you gain confidence, gradually tackle more complex projects.
-
Practice Patience: Sculpting takes time. Don’t rush through the details, as they can make a significant difference in the overall look of your charm.
-
Experiment: Don’t be afraid to try different techniques or color combinations. Each charm can reflect your unique style.
-
Seek Inspiration: Join online communities and social media groups focused on charm-making. These platforms can provide inspiration, advice, and feedback on your work.
Caring for Your Charms
3D pet charms require gentle handling, especially if they are made from polymer clay. Store them in a safe place to prevent scratches or chips. If your charm becomes dirty, gently wipe it with a damp cloth without soaking it in water to avoid damaging the paint or the clay.
Marketing Your Charms
If you decide to sell your charms, utilize platforms like Etsy, Instagram, or your own website. Use high-quality photos that showcase your charms from multiple angles. Engage with potential customers through storytelling—share the inspiration behind each piece.
SEO Optimization for Online Listings
When marketing your charms online, use relevant keywords in your product descriptions. Terms like “handmade pet charms,” “custom 3D pet figurines,” and “polymer clay pet accessories” can help drive traffic to your listings. Use hashtags strategically on social media to reach a broader audience.
Conclusion: Your Crafting Journey
Creating 3D pet charms can be a rewarding experience, allowing you to express your creativity and affinity for animals. Whether you’re making these as gifts or to sell, the skills you develop along the way are invaluable. Keep experimenting, stay inspired, and enjoy the process of bringing your pet charms to life!