Materials Needed
- 3D Printer: Ensure you have access to a reliable 3D printer that supports the filament you plan to use, such as PLA or resin.
- 3D Modelling Software: Use programs like Tinkercad, Blender, or Fusion 360 to create your design.
- Filament or Resin: Choose colors that resonate with your pet’s personality. Popular choices include gold, silver, and vibrant colors.
- Jump Rings: These are essential for connecting the jewelry pieces.
- Chain or Cord: Select a durable material for necklaces or bracelets, like leather, nylon, or metal chain.
- Jewelry Clasp: If you’re making a necklace or bracelet, a sturdy clasp is necessary.
- Sandpaper: Fine-grit sandpaper will help smooth your printed pieces.
- Gloss Finish or Sealer: To enhance durability and give your piece a polished look.
Designing Your Jewelry
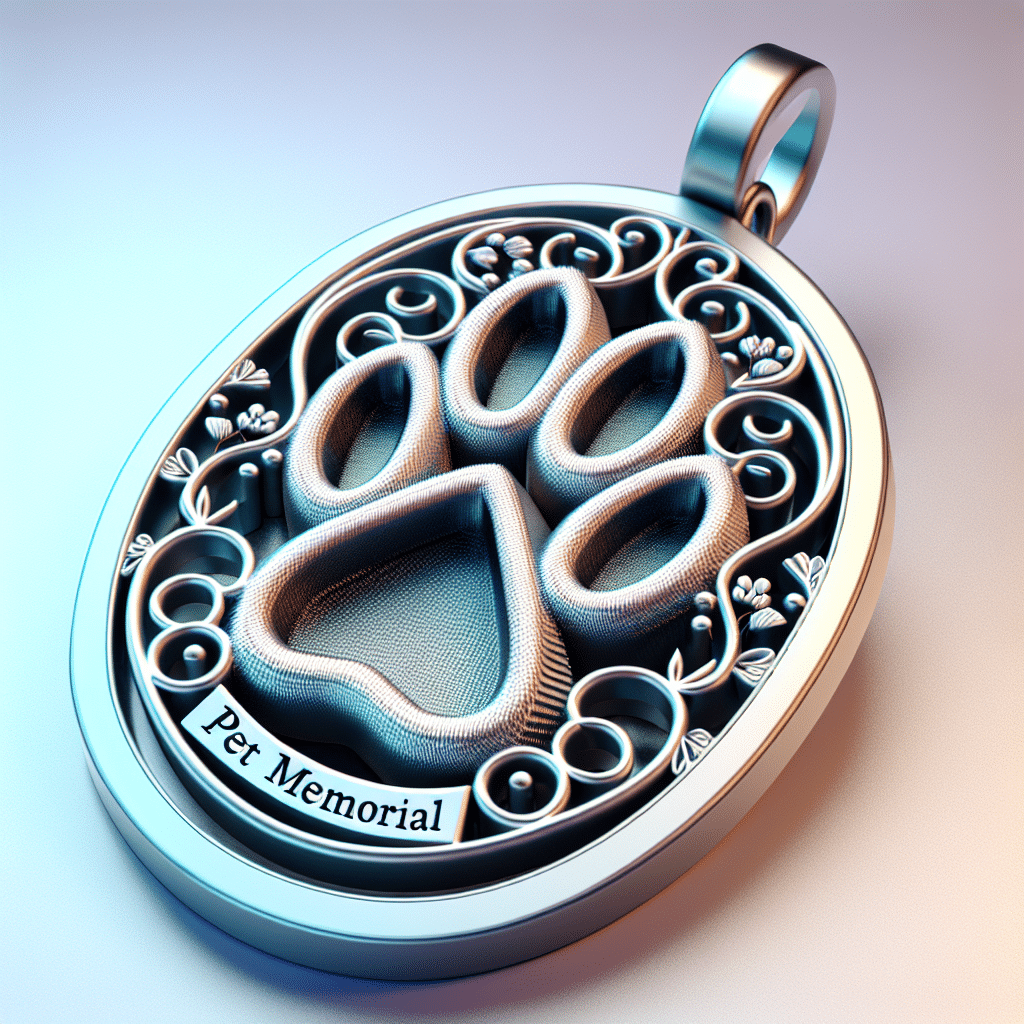
- Conceptualization: Sketch out your design, considering elements like your pet’s name, paw prints, or their silhouette.
- Using 3D Modelling Software:
- Open your chosen software and create a new project.
- Use geometric shapes to outline your jewelry design. For instance, start with a circle for a pendant.
- Add features like text (your pet’s name) or images (paw prints).
- If you’re familiar with more advanced software, consider creating a more intricate design featuring personalized details.
Preparing to Print
- Export Your Design: Once satisfied with your design, export it in a format compatible with your 3D printing software, usually .STL or .OBJ.
- Slicing Software: Open your design in slicing software (like Cura or PrusaSlicer) to prepare it for your 3D printer.
- Adjust the specifications such as layer height and infill density, considering that jewelry requires a finer quality print.
- Ensure your settings optimize the piece’s strength without sacrificing detail.
3D Printing Process
- Load Your Printer: Install the filament or resin into your 3D printer following the manufacturer’s guidelines.
- Calibrate Your Printer: Before starting, conduct a calibration check to confirm your printer is functioning correctly.
- Start Printing: Initiate the print job. Monitor the process to catch any potential failures early.
- Post-Processing: Once printing is complete, carefully remove your jewelry piece from the printer.
- Use fine-grit sandpaper to smooth any rough edges caused by the printing process.
- Rinse the piece with water to remove any dust or filament residue.
Finishing Touches
- Apply Gloss Finish: For a professional look, apply a gloss finish or sealer suitable for your chosen material. This will enhance color vibrancy and protect the piece from wear.
- Adding Jump Rings: Use pliers to open a jump ring and attach it to the top of your pendant.
- Attaching Chain or Cord: Secure your charm onto the chain or cord. If making a bracelet, loop the chain or cord through properly and ensure it’s durable.
- Attach Clasp: Connect a clasp to your chain or cord to ensure the piece is easy to wear.
Creative Customization
- Add Colors and Textures: During the design phase, consider incorporating textures like scales or patterns that represent your pet.
- Incorporate Colors: Use a multi-material printer if available to incorporate color variations in the jewelry or use different filament colors throughout the design.
- Include Personal Touches: Consider embedding a small vial within the jewelry to store a bit of your pet’s fur or ashes, adding an even deeper personal touch.
Tips for Success
- Experiment with Designs: Don’t hesitate to go beyond traditional shapes; explore abstract or whimsical designs that embody your pet’s spirit.
- Test Print: Before printing the final piece, create a small-scale test print to check for design flaws and refine details.
- Printing Time: Be patient during the process as intricate designs may take longer to print but yield more beautiful results.
- Join a Community: Engaging with online forums or social media groups dedicated to 3D printing can provide inspiration as well as troubleshooting advice.
By following these steps, you can create unique, heartfelt pet memorial jewelry that celebrates the bond you shared, allowing you to carry a piece of your pet with you always. Through creativity and personalization, your 3D-printed jewelry will serve as a cherished keepsake.