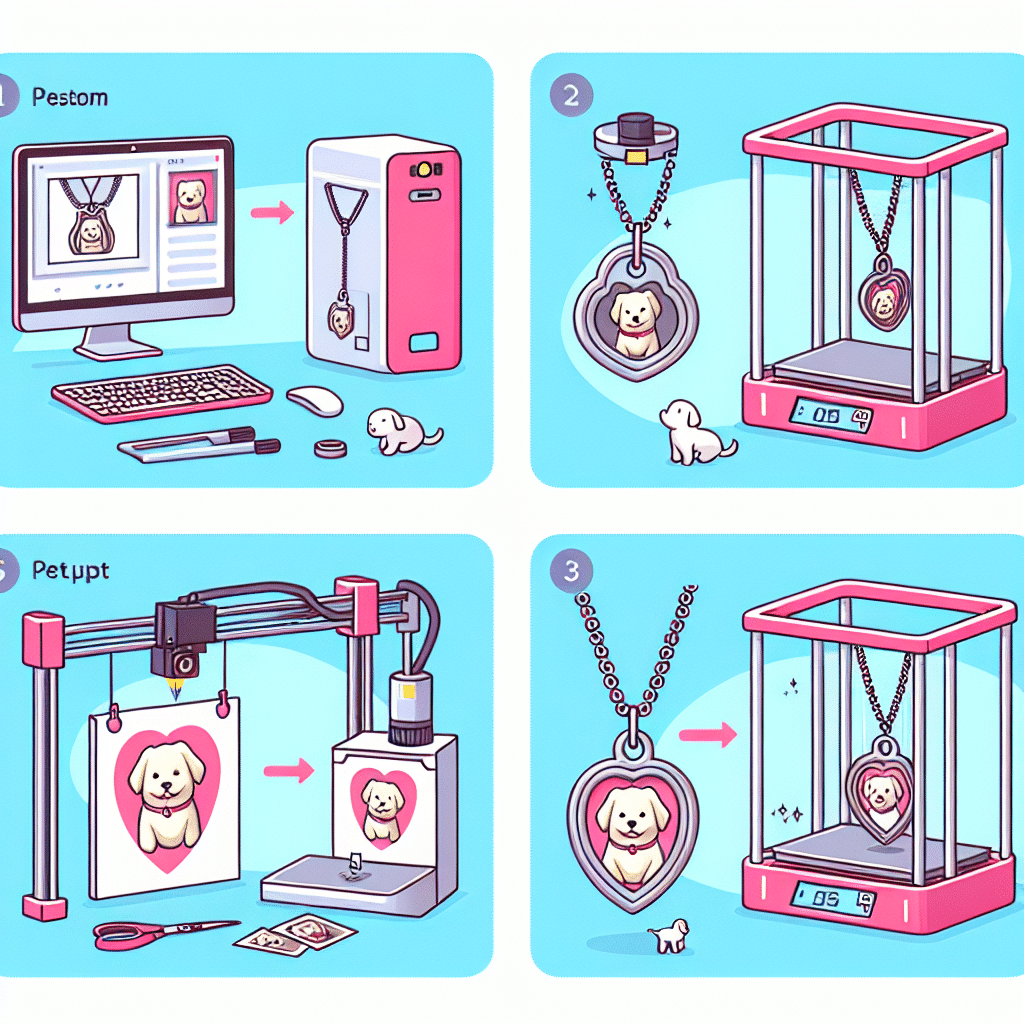
Step-by-Step Guide to Creating a 3D-Printed Locket with Pet Pictures
Materials Needed
- 3D Printer: A FDM or SLA printer will work.
- 3D Modeling Software: Tinkercad, Fusion 360, or Blender.
- PET Pictures: High-quality images of your pets.
- Micro SD Card: For printing your 3D model.
- Filament: PLA or resin, depending on your 3D printer.
- Locking Mechanism: Small magnets or a clasp for closure.
- Sandpaper: For finishing touches.
- Clear Epoxy Resin: If you want a glossy finish.
- Digital Calipers: To measure dimensions accurately.
Step 1: Selecting the Design
Choosing the appropriate design for your locket is crucial. You can create a heart-shaped or circular locket that reflects your personal style:
- Heart-Shaped Locket: Represents love and affection for your pet.
- Circular Locket: A classic design that can accommodate a variety of images.
You can find free locket templates on sites like Thingiverse or create a custom design from scratch.
Step 2: 3D Modeling
If using 3D modeling software:
- Create the Base Shape: Start with a 3D primitive that matches your desired locket shape; use the ‘spline’ tool for curves.
- Add the Inner Frame: Create an inner aperture to hold the picture securely. The depth and width should comfortably fit your pet picture.
- Include Hinge and Clasp: Design a hinge on one side so that the locket can open and a slot or a hook on the other side for closure.
- Export the Model: Save your design in STL format, as this is the standard file type for 3D printing.
Step 3: Preparing the Pet Pictures
You’ll want to ensure that the images of your pet are clear and appropriately sized:
- Select Photos: Choose high-resolution pictures that represent your pet well.
- Edit Photos: Use software like Photoshop or Canva to resize the images according to your locket’s dimensions. Consider applying a slight round-off effect to fit the curvature of the locket.
- Print Options: Print your photos on photo paper or transfer them onto tougher materials, like a printable fabric, if you want to make them more durable.
Step 4: 3D Printing
Setting up your 3D printer for optimal results is essential:
- Filament Setup: Load PLA or resin into your printer, depending on your setup.
- Printer Configuration: Ensure correct temperature settings (typically around 200°C for PLA) and check your bed adhesion.
- Slicing Software: Use software like Cura or PrusaSlicer to slice your model. Pay attention to settings like layer height and infill for a robust design.
- Start Printing: Transfer your sliced file to the printer using an SD card or direct USB connection. Monitor the first few layers to ensure proper adhesion.
Step 5: Post-Processing
Once you’ve printed your locket, you may need to tidy it up:
- Remove Supports: Carefully detach any support structures used during printing.
- Sanding: Use fine-grit sandpaper to smooth out any rough edges and imperfections on the locket.
- Assembly: If your locket has separate parts, carefully glue them together using a quality epoxy adhesive.
Step 6: Inserting the Picture
Place the pet picture inside the locket:
- Insert the Picture: Make sure it fits snugly into the inner frame you designed.
- Seal the Locket: Use a small ring magnet or clasp to securely close the locket, preventing it from opening accidentally.
Step 7: Finishing Touches
For additional aesthetics, consider these enhancements:
- Coating: Apply a layer of clear epoxy resin to give your locket a glossy finish and protection against scratches.
- Decorative Elements: You can add inscriptions or engravings to personalize the locket further—this can be done before printing if you’re using a CNC option to engrave.
Step 8: Care and Maintenance
To keep your 3D-printed locket looking beautiful:
- Regular Cleaning: Use a soft, damp cloth to wipe the surface. Avoid harsh chemicals that can damage the printed material.
- Proper Storage: Keep your locket in a plush pouch when not in use to prevent scratches and wear.
Tips for Success
- Test Prints: Before printing the final version, consider doing small test prints to check fit and finish.
- Community Engagement: Join online forums or groups focused on 3D printing; they can provide valuable insights and tips.
- Experiment with Colors: Don’t hesitate to use different filament colors for a more colorful, personalized locket.
SEO Optimization
When uploading your content online, ensure that you incorporate relevant keywords such as “DIY 3D-printed locket,” “custom locket for pets,” and “pet picture locket.” Use alt tags for images depicting the steps or finished product to improve visibility in search engines. Use engaging Meta descriptions and headers that encourage clicks, like “Create a Beautiful 3D-Printed Locket with Your Pet’s Picture.”
By following these steps meticulously, you’ll create a personalized, cherished locket that celebrates the love you have for your pet. Happy printing!